
By Carol Edwin
Bridal Car Decorations – Do It Yourself!
With all the hullabaloo on the eve of the wedding, it might seem like no one has the time to send the bridal car to the car decorators. Here’s a guide to decorating the bridal car DIY style:
1. Get 12 metres of strong ribbon. This is to be divided into two 6 metre lengths – one for the front, one for the back.
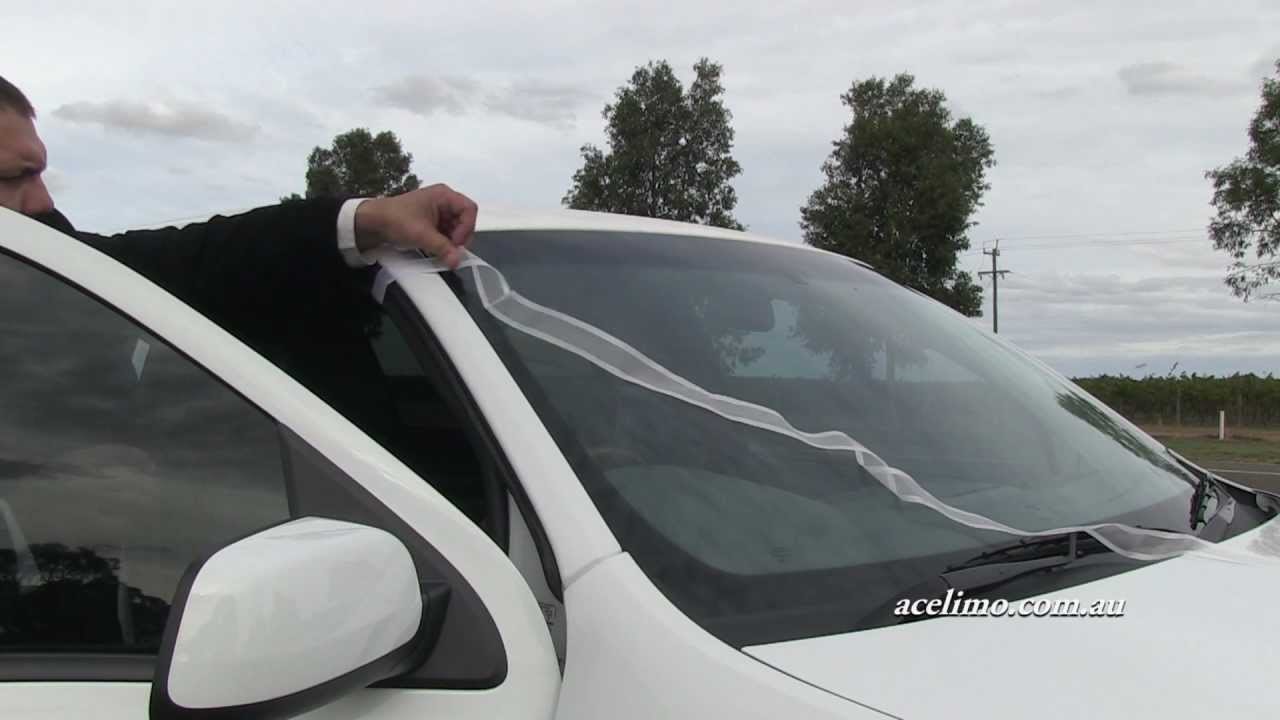
2. Tie one end of the ribbon securely to the driver’s side sun visor. Tie a loop for easy removal after the wedding. Tighten the knot.

5. Pop open the bonnet, and loop the ribbon through the bonnet hook or through the grille.
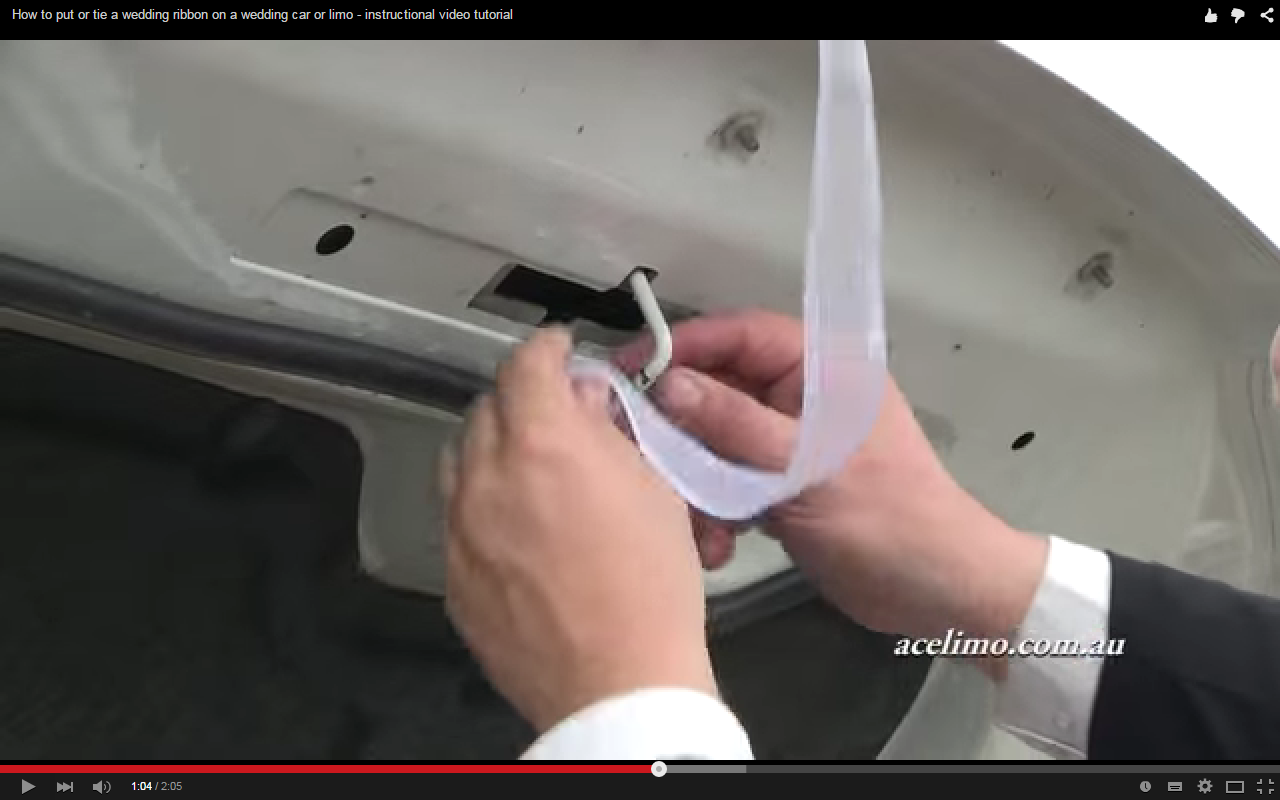

8. Remove the bonnet support (the bottle/box that was holding it ajar), and carefully close the bonnet. The ribbon should be taut.
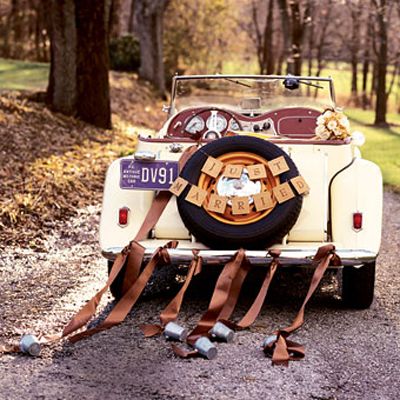
9. To decorate the back of the car, secure the ribbons to the hand grips in the back seat. Then repeat steps 3 – 7.
With the ribbons securely in place, other bits of decoration can be added fairly easily.
Use twist ties or or a stapler to secure additional decoration to the ribbon.


![]()
![]()
![]()
![]()
